This topic describes how to install and use TrackStudio IDE plugins to create an issue.
To create an issue using IDEA, Eclipse or JBuilder, you can use plugins. Plugins works with TrackStudio via SOAP API, so you should enable SOAP API in the TrackStudio settings.
To install a plugin, do the following:
1. Create the directory [ECLIPSE_INSTALLATION_PATH]/plugins/com.trackstudio and unpack the archive file trackstudio.com.zip to it.
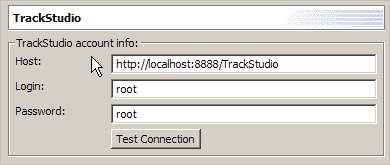
2. Launch Eclipse, open the Preferences window (Window->Preferences). In the TrackStudio settings specify the URL of the TrackStudio server, login and password.
3. To add a new task, select the Add issue item in the TrackStudio menu.
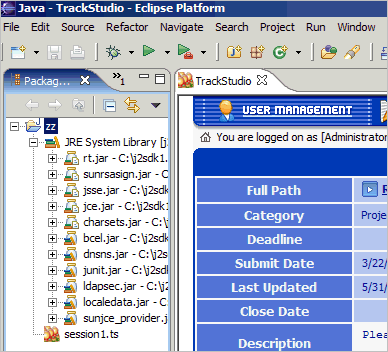
4. To open TrackStudio window (Microsoft Windows only), select File->New->Other. Mark the Show All Wizards checkbox and choose TrackStudio->New TrackStudio session item.
1. Put the file ts-jbuilder.jar into the directory [JBUILDER_INSTALLATION_PATH]/lib/ext.
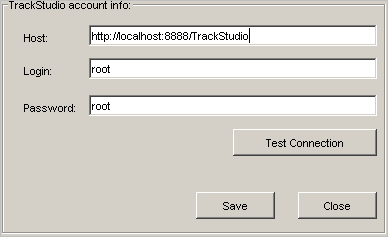
2. Launch JBuilder, in the TrackStudio menu select the Settings item. In the opened window specify the URL of the TrackStudio server, login and password.
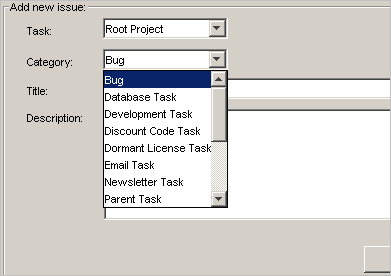
3. To add a new task, select the Add issue item in the TrackStudio menu.
1. Put the file ts-idea.jar to the directory [JBUILDER_INSTALLATION_PATH]/plugins.
2. Launch IDEA, open the Project Properties window (File->Project Properties). In the TrackStudio settings specify the URL of the TrackStudio server, login and password.

3. To add a new task, press the key combination Ctrl+T.
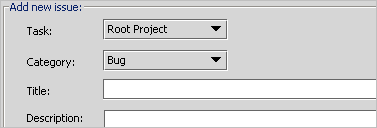
The functionality of plugins is limited in this version of TrackStudio, but they will be enhanced in the next version.
 Description